Voxels Project
Report
Introduction
The aim of the project is developing an in-browser voxels editor with which the user will be able to draw 3d picture with cubes.
We tried to merge what we learnt from the course to create a more realistic 3d art figure with realistic lighting, a moving camera, and shadows.
We tried to merge what we learnt from the course to create a more realistic 3d art figure with realistic lighting, a moving camera, and shadows.
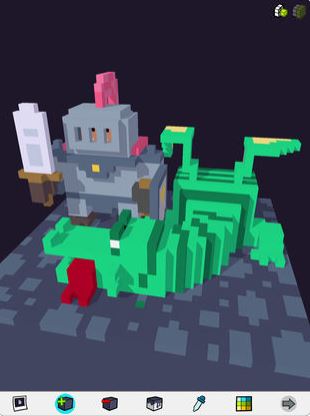
Inspiration: Particubes (ios app)

Example of a voxel art piecen, by Musho
Voxel editor tutorial
The voxel editor is controlled by mouse actions on the canvas:
- Left click on a cube:
- When in “Drawing” mode
- In "Add cube" mode: a new cube will be added
- In "Delete cube" mode: the cube will be removed
- When in “Color picker” mode: the color of the cube is set as drawing color
- When in “Drawing” mode
- Left click and drag on canvas: the camera will rotate around the center of the scene
- Right click and drag on canvas: the camera will truck/pedestal. It translates the camera and the point it’s looking at.
- Mouse wheel on canvas: the camera will zoom in/out.
Cube models
The starting point is drawing the first cube, which is hard coded in a center position of the scene. Every cube will be added attached to a previously created one.
We defined cube as a javascript object with the attributes: vertices (an array of vec3) and a color (vec4). All the cubes in the scene are stored in a list “allCubes”.
The cubes can be added or removed from the canvas clicking on one face of a cube. In order to add a new cube we push the new cube object to the list, the new vertices will be calculate from the position of the cube and relative faced selected adding 1 to his coordinates.
We can only display triangles, so we need to generate the vertices of 2 triangles for each face of the cube. Then we bind the vertices to the buffer and draw the scene.
See function
createNewCube from line 5 until 54 of cubeMethods.js, and initCubeBuffers from line 63 until 105.
Navigating the scene
For our voxel editor to be easy to use, we needed to implement an intuitive way to move the camera around in the scene. We decided to allow the user to move the camera in 3 ways:
- rotate around a fixed point
- dolly (translate the camera along the direction of view)
- truck and pedestal (translate the camera in the plane normal to the direction of view)
moveCamera lines 166-191 of scene.js)
Color Picker
To select the color of the cube we create two shapes, a circle and a triangle. Applying the knowledge of fragment shaders, we chose values for each vertex forming the circle using the color scheme that we found here.
On the other hand the triangle values changes when you select a point on the circle displaying different shades of the selected color.
Two of the values of the triangle picker don’t change: black and white. The third value is the one selected on the circle and it defines which shade should be implemented, see line 101 of
colorPicker.js.
Look up map: know on which cube the mouse is
To enable the user to interact with the scene and the cubes in it, our program needs to know at what cube and what face the mouse is pointing.
To know that, we use a method similar to what is done in Chapter 10 of WebGL Programming Guide. We encode the cube and face indices in the red and green channels of a texture,
and when we need to know what face is pointed at, we read the color values of the texture.
We use a framebuffer object to draw in a texture, instead of drawing the look up map directly on the color buffer,
so that we can store this information and draw it again only if the scene changes (a cube is added/removed, or the camera moves).
For example when the user hovers the mouse on the canvas, we can read the values in the look-up texture map without re-rendering it each time.
See function
See function
getCubeFace, lines 13-34 of interactions.js
This method will work up to 256 cubes. If we want to draw more cubes we can use the blue and alpha channels too.
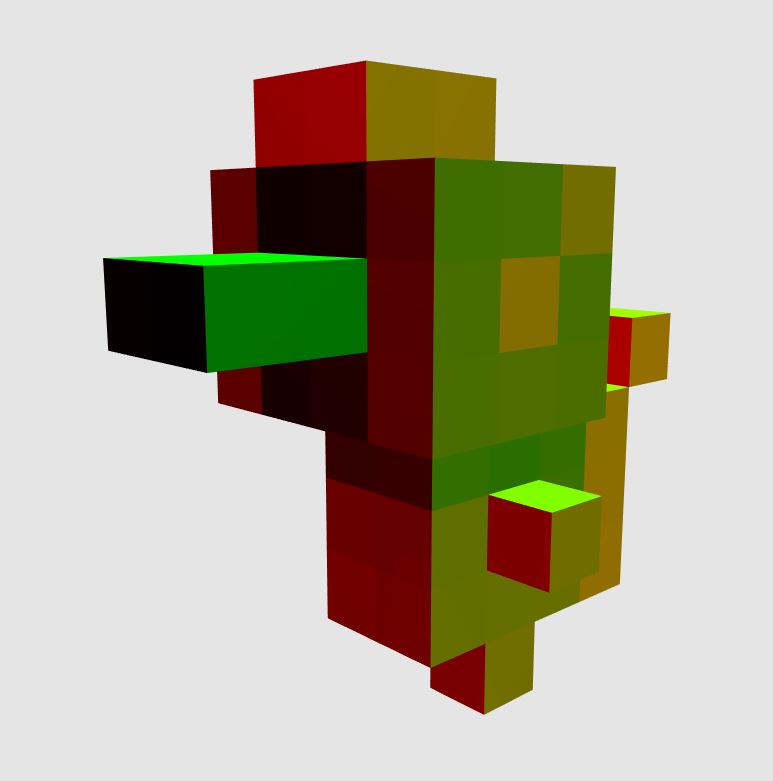
The look-up map: the red channel codes the index of the cube, the green channel codes the index of the face
With this method we can know where the user wants to add a cube
Flat and Phong shading
First we implemented flat shading, by giving the same normal vector for all vertices of a same face.
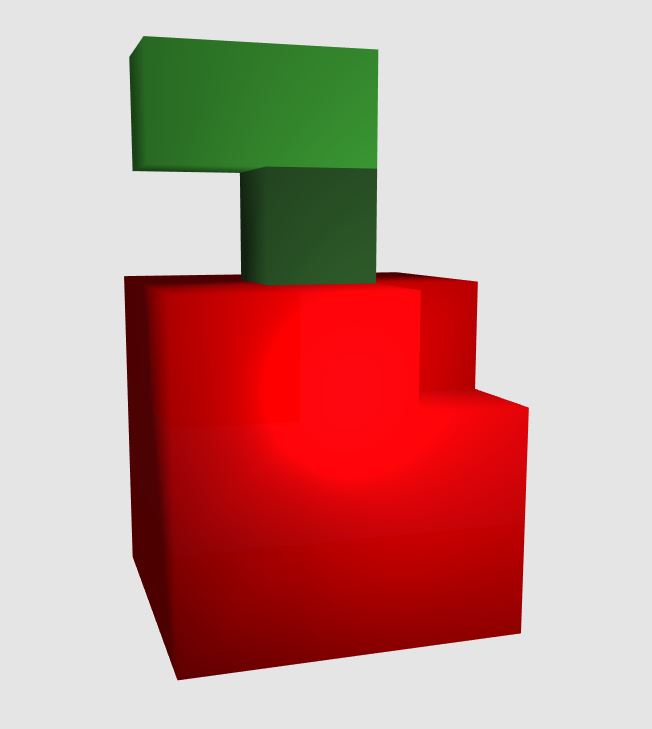
The results looks nice in the “vortex art” style, and shadows also help add realism (see Fig.1).
Then we added Phong shading by setting different normal vectors to the vertices, and interpolating normals for each fragment in the fragment shader.
To do this, we needed a way to approximate the normal for each vertex of the model, with the goal of making the edges look more smooth.
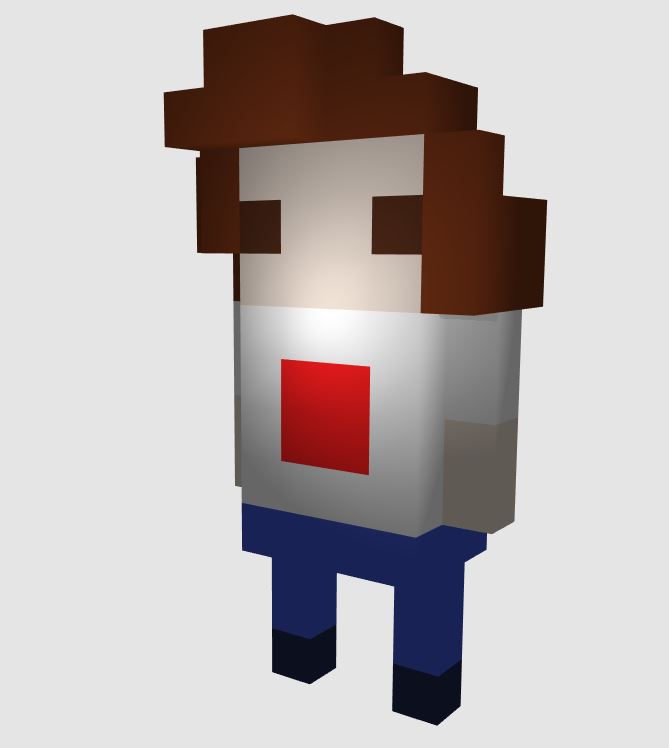
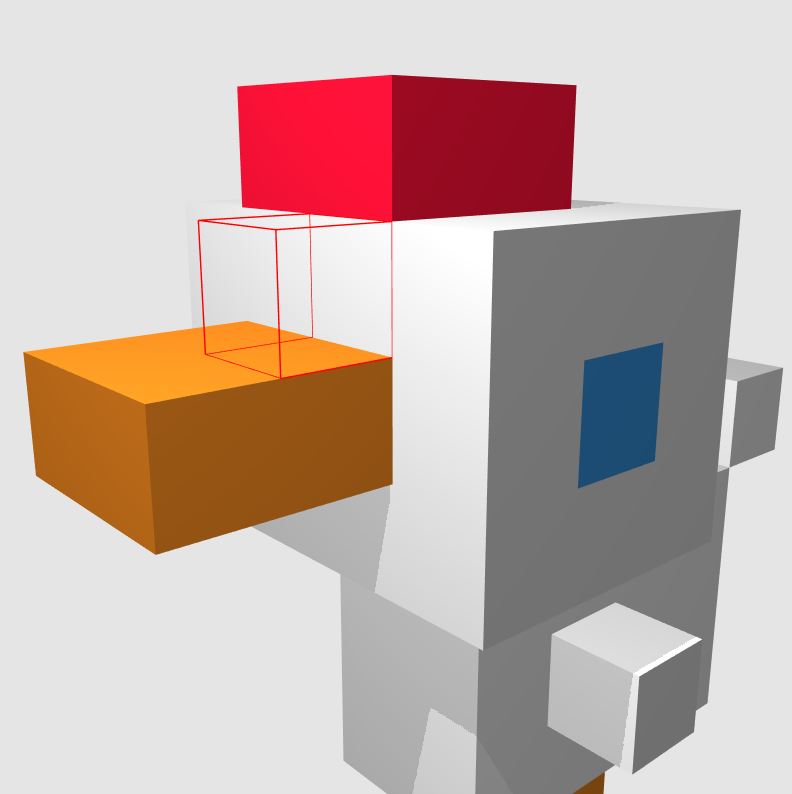
First we approximated the normal for each vertex as the normalized vector from a fixed point (like (0, 0, 0) for example) to the vertex. This technique is not so realistic, as the fixed point can be any random point for the model (see Fig.3). Then instead of using a random fixed point, we use the center of the model. This adds one loop through all the cubes in the js code, as we need to compute this center (mean of centers of all the cubes) but the result is better (see Fig.4). (see lines 69-76 of
We implemented Phong lighting model with customizable parameters, so that the artist can change the appearance of the cubes material.
There is a demo mode on the project web page that will set parameters to show nice highlights, and can be tested on different models. (Click “Phong Demo” button).
Note: the yellow wireframe cube represents the position of the point light.
To do this, we needed a way to approximate the normal for each vertex of the model, with the goal of making the edges look more smooth.
First we approximated the normal for each vertex as the normalized vector from a fixed point (like (0, 0, 0) for example) to the vertex. This technique is not so realistic, as the fixed point can be any random point for the model (see Fig.3). Then instead of using a random fixed point, we use the center of the model. This adds one loop through all the cubes in the js code, as we need to compute this center (mean of centers of all the cubes) but the result is better (see Fig.4). (see lines 69-76 of
cubeMethods.js)
We implemented Phong lighting model with customizable parameters, so that the artist can change the appearance of the cubes material.
There is a demo mode on the project web page that will set parameters to show nice highlights, and can be tested on different models. (Click “Phong Demo” button).
Note: the yellow wireframe cube represents the position of the point light.
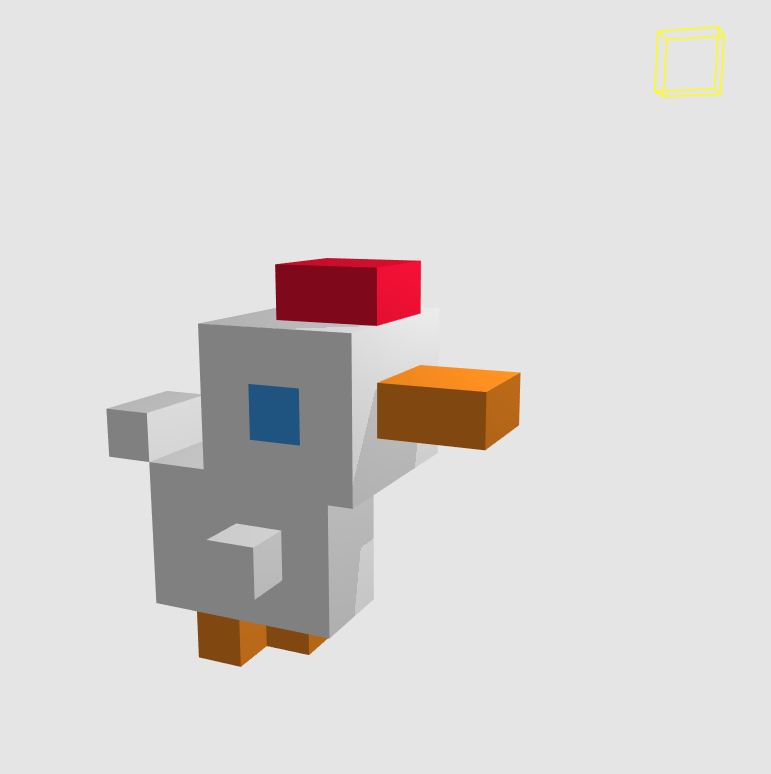
Fig.1: Flat shading with shadows
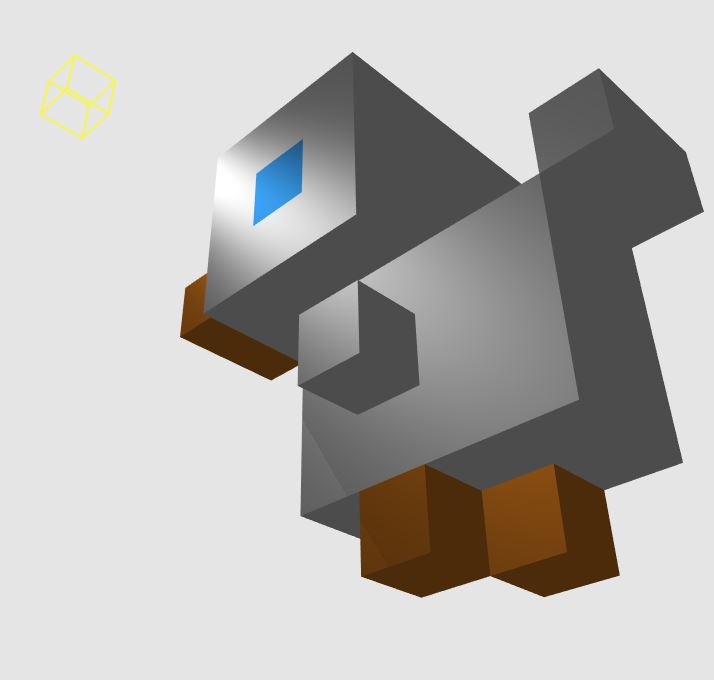
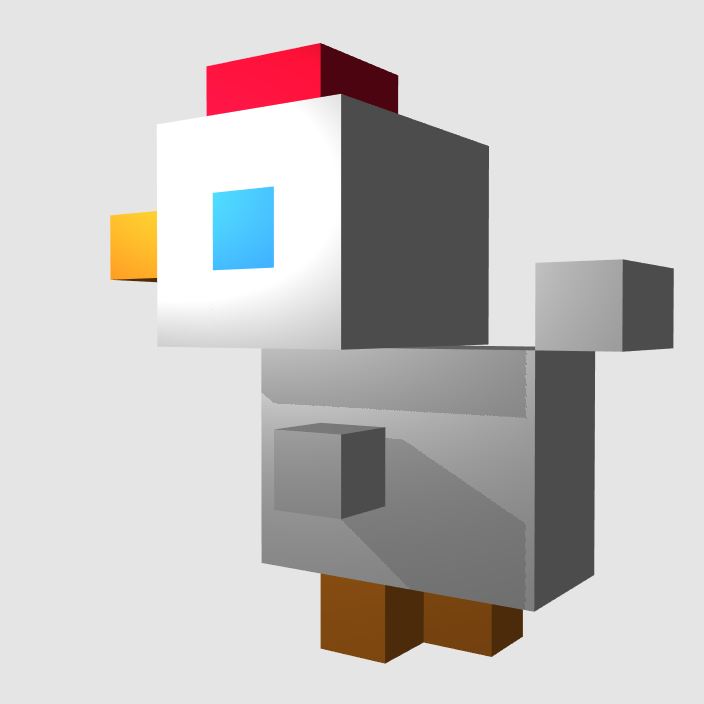
Fig.2: Flat shading with Phong lighting model, simulating shiny surface
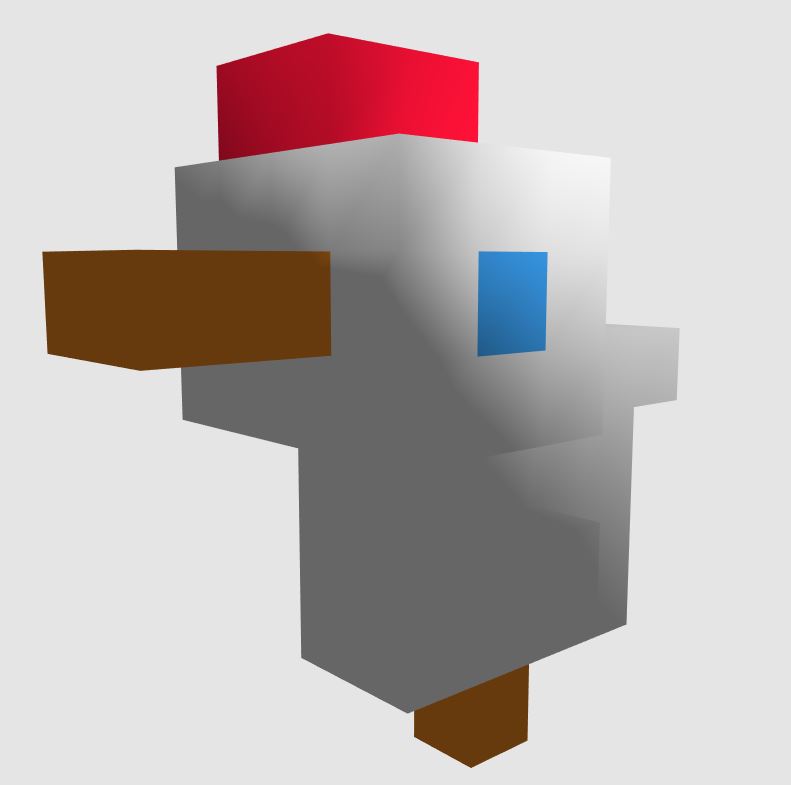
Fig.3: Phong shading with first normals model
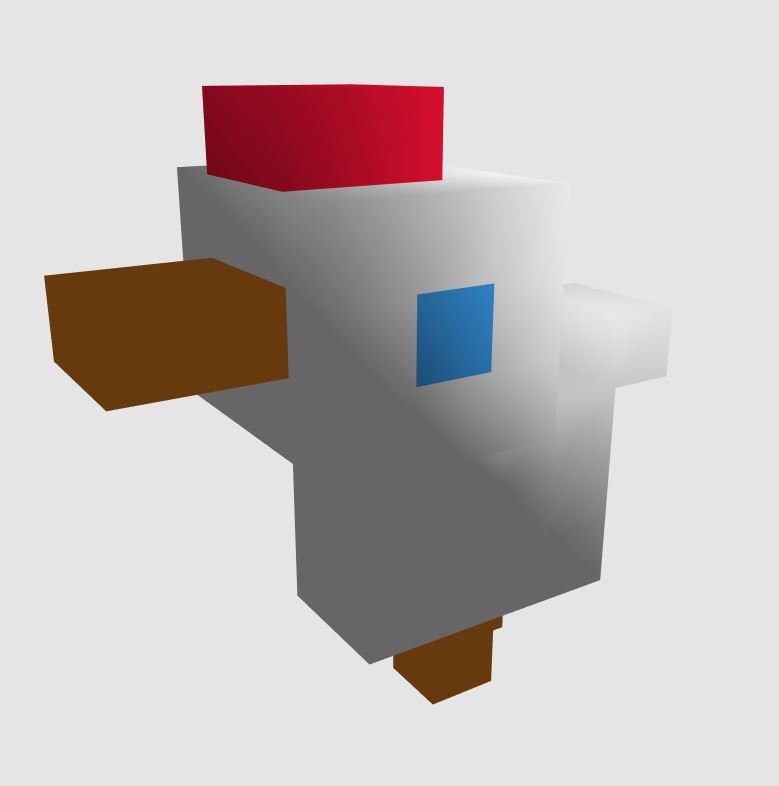
Fig.4: Phong shading with second normals model
Shadows
To have shadows on our models we needed to implement shadow mapping. We used the same method as the one described in Display Shadows section of
WebGL Programming Guide.
There were some issues when the light gets too far from the cubes, so we had to implement the more precise method described in WebGL Programming Guide,
using all R, G, B and A dimensions of the texture map to store the distance from light to object.
Conclusion
With the concepts learnt during this class, we were able to build this voxel editor with functionalities that can help artists create cool voxel models with different styles of lightings.